I woke up this morning with an urge to share some dimensioning tips. What a life, huh?
Many people issue a linear dimension command, then pick two points to dimension something and move on.
There is so much more.
Continue dimensions:
If you are dimensioning a series of items, use the Continue Dim command or icon after you have placed the first dimension. You can then just keep picking to place dimensions, all in a neat row (or column if dimming vertically). This works with Aligned dimensions also.
Object:
If you are dimensioning objects or actual lines, then you can issue your Dimlinear or Dimaligned command and instead of picking your first dim point, press return to select an object. Pick the line (pline, circle, whatever) you want to dimension and it places a dimension on that object. No need to snap to both endpoints!
Add a Line or text:
Need to add a line of text under the dimension? Type in \X after the dimension and add your line. The \X will place whatever follows it under the previous text. The X must be a capital X. Note that if you grip edit the dimension to move the text, all bets are off. You can use Hometext to move the text back where it belongs.
Rotate option to align:
Instead of using Aligned dims, try the rotate option while placing linear dims.This way the dims remain aligned to the rotation instead of the object they are dimensioning. Watch your command line as you place a linear dimension and try the rotate option.
Dimasso variable:
DIMASSO dictates how dims are associated with things.
0 will cause the dimensions to be individual lines, solids, and text. Yuck.
1 will keep each dimension together as one object.
2 keeps the dimensions associated with the object they are snapped to. This will make the dimension move if the object moves. But, if you grip edit the dim, the association with that object is lost. You'll need to DIMREASSOCIATE the dimension. Version 2013 has an option that will visually warn you if a dimension is not associated with something.
Annotative:
I will just mention that annotative dimensioning is the way to go. It eliminates or at least greatly reduces the need for multiple dimstyles and placing dims on different layers. Read up on it if you're not using it.
Extension Lines:
Occasionally an extension line may cover up a center line or something. You can turn extension lines off and on with the properties manager. You might even want to change the extension line to a centerline linetype and remove the centerline itself.
Snapping:
I'm a believer of snapping to the object you want to dimension. Don't snap to center lines or use the perpendicular osnap to place dimensions. You are dimensioning actual objects like bolt holes, beams, columns, etc., not center lines. But, that's just me.
I'm sure I'll think of more after a bit of coffee. Also my home version of AutoCAD 2012 has expired so I can't double check what I'm writing about. I guess it's time to bring my home computer up to speed with a home license of 2013. If you are on subscription, you can install your software at home with a special home license.
Please don't forget I have a $0.99 Kindle Book full of AutoCAD tips and tricks based on my AutoCAD Weekly Planner.
The Kindle book can be downloaded from Amazon or directly on your Kindle (Search for ACAD) and the weekly planner is available through the Autodesk Apps store for under $4.00. Both are available by clicking the links above.
Thanks,
Lyle.
Sunday, June 10, 2012
Friday, June 1, 2012
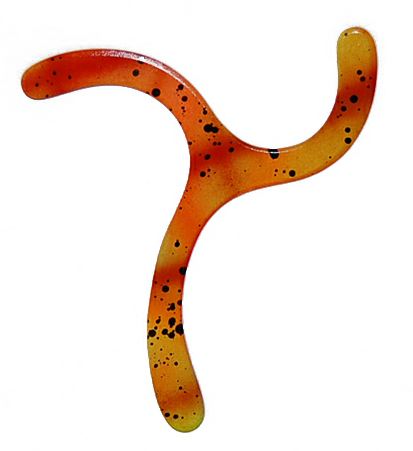
Boomerangs. Again.
25th Annual Gateway Classic
Waterloo, ILLast weekend I attended one day (Saturday) of the 25th Annual Gateway Classic. It's a boomerang tournament held annually in Waterloo, IL which is just a short drive East of St. Louis, Missouri and organized by a guy known as Chicago Bob. I wish to thank Chicago Bob for keeping me on his mailing list all these years and finally convincing me to show up.
I've been throwing boomerangs, or 'rangs, since 1979 when I ordered my first few boomerangs from The Boomerang Man ad in the back of a Popular Science. But I've always thrown solo. That is, no one else I knew threw boomerangs other than a friend of mine in High School. I still throw while my kids are at soccer or lacrosse practice and occasionally draw a small crowd of people who have never seen a 'real' boomerang.
The Gateway Classic was an eye opener to the variety of boomerangs and competitions. Saturday consisted of workshops where people (mostly rookies) could learn about the different types of competitions. I didn't compete or really take part in the workshops, but the people that showed up were very helpful and friendly. I met competitive throwers from Houston and Wisconsin. I met recreational throwers like myself from Chicago and Tennessee. They were all outgoing and friendly and answered any questions I had about different types of boomerangs and throwing.
I met Greg of RoundTrip Boomerangs ( www.leggacyboomerangs.com ). He had a couple of milk crates of used boomerangs for cheap! I bought 4 used ones of different varieties and a new 30 meter rang.

Another interesting and fascinating competition was the MTA or Maximum Time Aloft. The 30 meter boomerangs will be back in your hand in about 4 seconds after a throw. My bigger, wooden rangs will return in about 5 to 8 seconds. These MTA rangs are razor thin, small, and are thrown to the heavens almost vertically. After zooming to altitude they flatten out and spin/hover back down very slowly, staying in the air for up to 20 seconds or more. Really a lot of fun to watch!


Next year I'm heading back with my kids and some of their friends to try to get more youth involved in this fun, obscure fun sport.
So go buy yourself a boomerang (not the plastic ones from the dollar store!) and go have some fun! Yes, you can even make your own.
Maybe I'll see you in Waterloo, IL next year....
Later,
Lyle.
Subscribe to:
Posts (Atom)